Saturday, August 30, 2014

Beetle Dissection

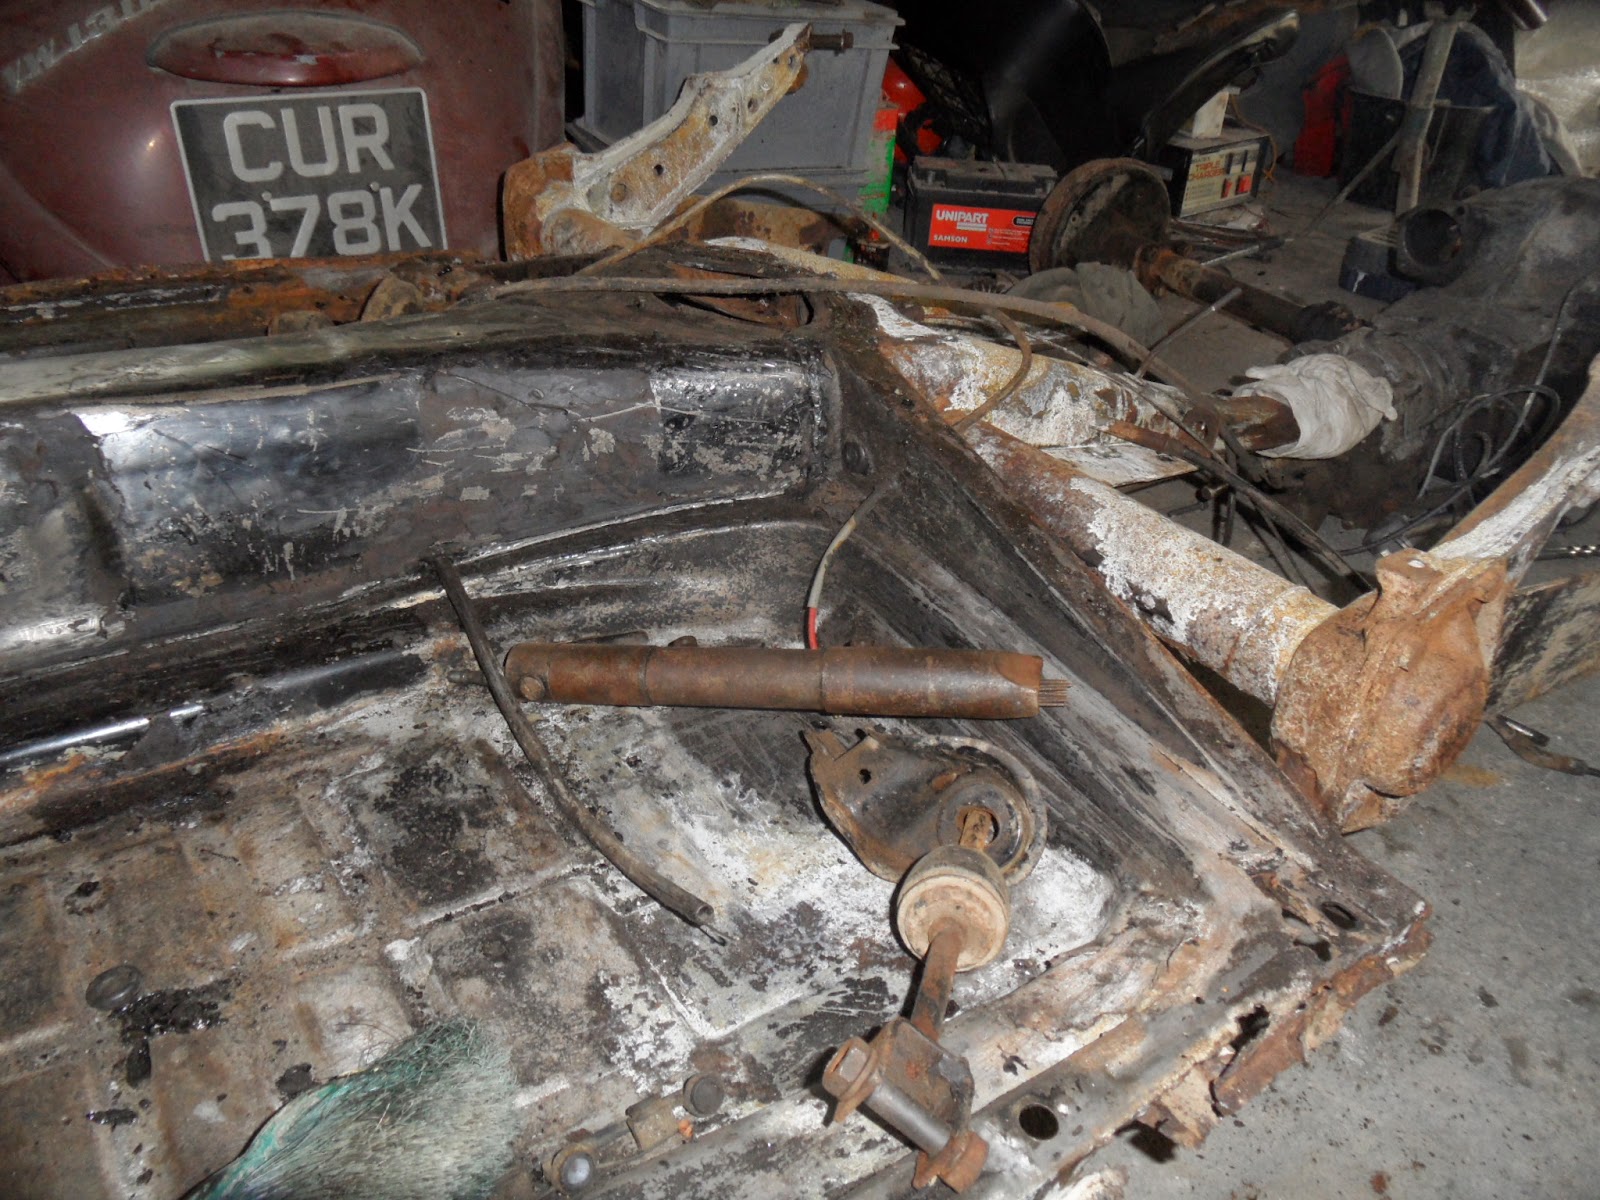
 Finally decided to strip the Beetle, and was surprised how quickly they do.
 I thought I would trial undoing the floor pan nuts and then just got carried away.
 Body off, just jack up each end and support with beams across axle stands.
 Both rear corners are rather shot and the whole beetle is covered in crappy weld on plates, so I start working like an automotive archaeologist.


 Funny seeing a beetle as tall as a Split Screen!!!

 Tar and card board removal, using the peening tool and scraper. Just avoid heating up any under seal or tar.
 Laid out like an installation art piece.
Standing Room Only!!!!

B,C & D Posts


 Cut and modify each post end to step fit.

 Another test fit of the outer skin. The B post still needs additional repairs further up the post!
 Start welding in posts - sill, post & floor.

 Cuts further up the side to remove strike damage to panel.
Rear wheel tub lower edge repair also some inner wheel arch side panel corrosion to sort out. I noticed that this panel is exactly the same pressing on a late type two.

Saturday, August 16, 2014

Split Screen Inner Sill Replacement

 Cut away, spray with jenolite.
 Create new top hat repair.
 Combine with out rigger and cut small slots in top hat for jacking point.

 Welded repairs to chassis and joined top hat - zinc 182.
 Clean up old jacking point with jenolite and zinc 182 all areas to be hidden.
 offered up.
 A series of spot welds to the center and some extra to the edge, had to cut and hammer up certain sections of the sill to create a flush fit to the floor.

 Still some floor plate repairs to do but nice and solid again.
 The new wings are of a good quality by Wolfsberg West.
 The fit is fantastic, but the gap at the base of the wing, concerned me until I realised that's how it is!!!!
 The step /gap is visible in this image, only the chassis and the small section of black metal are original in this picture.


Thursday, August 14, 2014

VW B Post and Cargo Floor Repair.


 Where to start!!!!
 This pre fab is turning out to be an arse because of the order of fitment. Would recommend individual pieces all the way. Quite a few cuts here, front cargo door is split at its base so will need a quick tack weld on it to allow final fitment for door edge gap. Nothing welded in yet.
Nice tight fitment to inner rails now. Loads of new panels arriving tomorrow, so you should see some quite speedy progress now.

Split Screen Cab Floor Repair

 So finally decided on cut lines, trying always to cut up repair panels and not the original bus whilst considering convenience and strength.
 Both leading edges of the floor /kick panel mount are shot, so out with the panel giving a nice straight edge to the repair.
 Panel in , extra grinding/trimming and joggling of course.  Tap/hammer to fit. Ready for welding.
 Autocraft panels are fantastic in fit and good to modify.
 Drivers side similar approach but with more pressings, and a wire hole to cut, managed to preserve all the original peddle and steering column holes.

 SNUG
 A cab floor.

Lots of quality new metal here, all ready for sandblasting and zinc plating, etc, etc.

Wednesday, August 13, 2014

Split Screen Grau

For Darren, a quality image of a panel in Grau - L345
Your M code plate cant make much sense off states JB211 Grau
02/06/2
303
JB 211 GRAU 955***

Looks the business................less is more!!!!

Monday, August 11, 2014

VW Rhinoplasty


 Front clip and roof section reworked with filler, headlamp mounting ring cleaned. Washed and panel wiped, keyed all over panel.
 2K primer, and speckle coat all over.


 D A and hand wet n dry all over to remove speckle.
Still needs some fine reworking, front clip is 90% prepped.